The 3D Model Problem No One Talks About
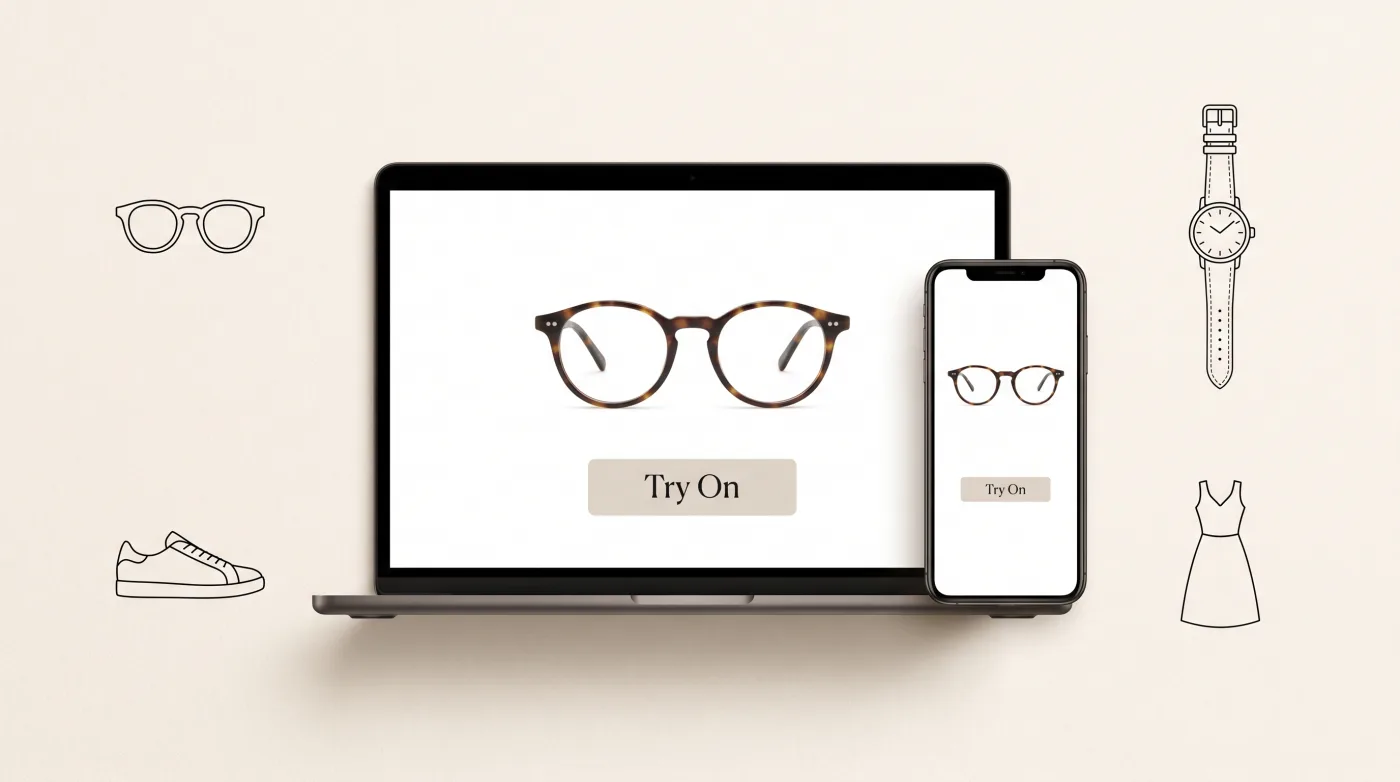
If you sell eyewear online and you're thinking about virtual try-on, the first question you'll hit is not "which app do I install?" It's: where do I get the 3D models?
An eyewear virtual try-on widget is only as good as the 3D model it places on the shopper's face. A bad model — low-poly, wrong proportions, flat textures — looks unconvincing and turns customers off. A good model — accurate geometry, realistic materials, proper lens rendering — is what actually moves the needle on conversion.
The problem is that good 3D models are expensive to produce. Traditional routes look like this:
- 3D modeling studio: $200–800 per frame, 1–4 weeks per model, requires sending physical frames or detailed photos and briefs
- In-house 3D artist: $60–100K/year salary, plus software licenses, plus time ramp-up on eyewear-specific material rendering
- Outsource marketplaces: Inconsistent quality, back-and-forth revisions, still $150–400 per model if you want AR-optimized output
For a catalog of 50 frames, you're looking at $10,000–40,000 and 6–12 months of pipeline time before a single frame is live on your site. At that scale, most eyewear merchants conclude that virtual try-on "isn't worth it" and shelve the idea.
That conclusion is wrong — the model production problem just got solved.
What AI-Generated 3D Eyewear Models Actually Look Like
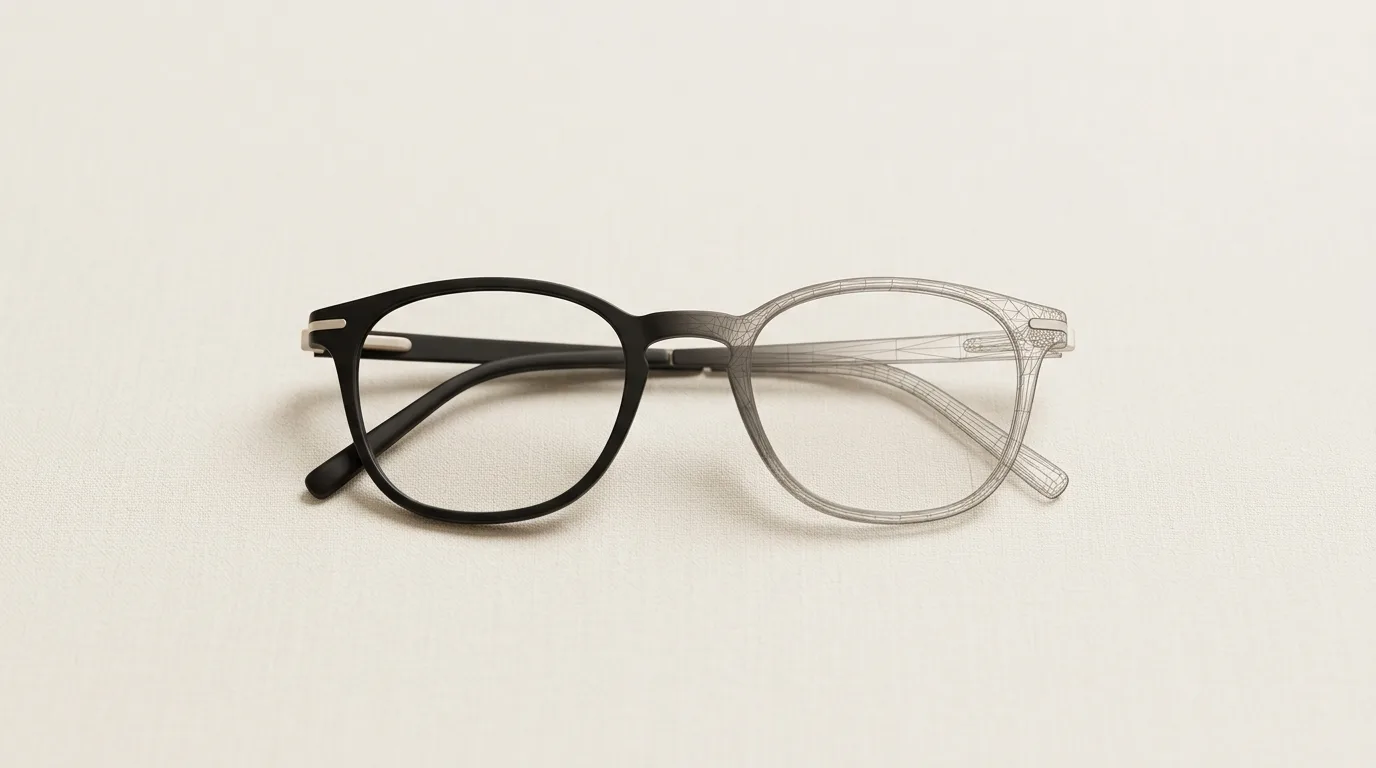
TryOn Virtual's 3D model generation pipeline (what we call the V3 builder) takes multiple product photos and outputs a production-ready 3D model in minutes. Not a rough approximation — a real production-grade asset with:
- Accurate frame geometry (bridge width, temple length, lens curvature, hinge position)
- PBR materials (metalness, roughness, lens tint, transparency, gradient effects)
- AR-optimized mesh (right polygon budget for real-time performance on mobile)
- Automatic nose bridge and temple animation rigging for live face tracking
The input is photos you already have. The standard product images in your Shopify catalog — a front shot, maybe a 45° angle — are enough to produce a model that will pass visual inspection in AR.
The output plugs directly into TryOn Virtual's widget. There's no file management, no manual upload, no copy-paste of IDs. When the model is ready, it auto-activates on the product page.
The Step-by-Step Process
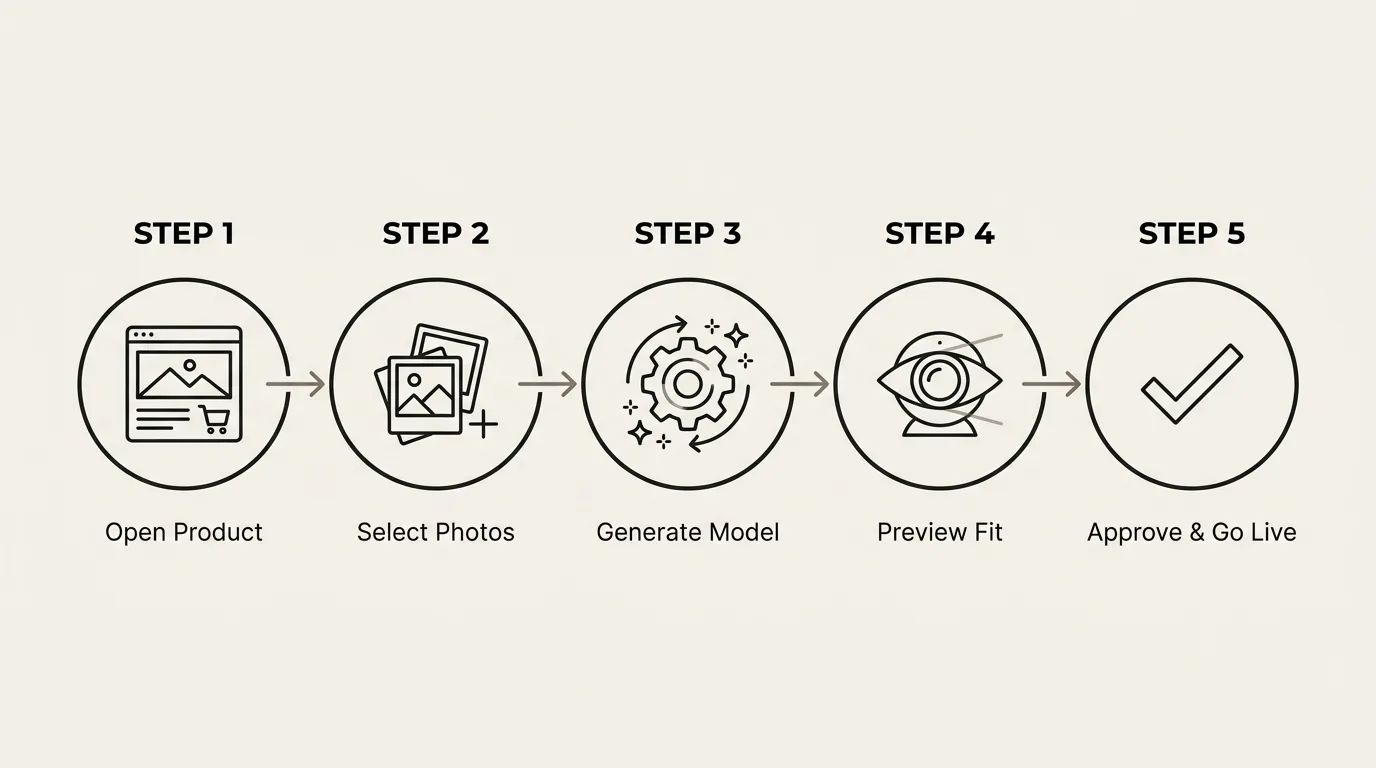
1. Open the product in your Shopify dashboard
Go to any eyewear product in your Shopify admin and open the TryOn Virtual section. You'll see your existing product images pulled in automatically from your catalog.
2. Select up to 4 photos and click "Generate 3D Model"
Pick your best images — front, side, and a 45° shot if you have them. One photo technically works, though more angles give the AI more information to work with. Hit generate.
3. Generation completes in minutes
The pipeline runs pre-processing, 3D reconstruction, and post-processing automatically in sequence. Most models complete within minutes. You'll get an in-app notification when it's ready.
4. Preview in the Fit Editor
Before it goes live, review the model in the Fit Editor — a live webcam view where you can scrub the frame's position, scale, and vertical alignment directly on a real face. Blender-style number inputs let you dial in the fit precisely.
5. Approve — it goes live immediately
Once you're satisfied, approve the model. It auto-activates in the virtual try-on widget on your product page. Shoppers can try the frame on from that moment.
That's it. No external vendor, no brief, no revision round, no invoice.
"But AI 3D Models Don't Look Good" — Why That's True for Most Tools and Not Ours
This is the most common objection from merchants who've looked at AI 3D generation before. It's a fair one: most tools produce noisy meshes, wrong materials, and polygon counts that make mobile AR stutter. If you've tried a competitor's output and put it in a try-on widget, it probably looked bad.
The raw reconstruction step — the part where an AI model infers 3D geometry from 2D photos — is only one piece of the pipeline. What differentiates quality outputs is everything that happens before and after it.
Pre-processing is where most tools skip corners. Before reconstruction even starts, our pipeline runs automatic image alignment and depth normalization across your multiple input photos, background removal and frame segmentation (so the AI reconstructs the frame, not the table it's sitting on), auto-lighting correction to remove photography artifacts that would corrupt material extraction, and material class detection — identifying whether the frame is metal, acetate, plastic, or mixed materials. Lens transparency and tint analysis also runs here.
Without pre-processing, a reconstruction model works with noisy inputs and produces noisy outputs. The quality ceiling is determined before the AI model even starts.
Post-processing is what converts a technically correct reconstruction into a production-ready AR asset. Raw outputs have too many polygons, uneven normals, and materials expressed as raw textures rather than PBR channels. Our post-processing runs automatically: mesh smoothing and topology cleanup, PBR material baking (metalness, roughness, transparency), polygon optimization to hit the right budget for 60fps mobile AR, normal map generation to preserve surface detail at the lower polygon count, and face-tracking rig generation for nose bridge and temple animation.
The result that reaches your store has gone through this full pipeline — not just the reconstruction step. That's the difference.
What the AI Gets Right (and What to Check)
The V3 pipeline handles these particularly well:
Frame shape — silhouette accuracy is high for most standard frame shapes (round, square, oval, cat-eye, rectangular). Unusual shapes or frames with very fine detail (thin wire bridges, intricate hinges) may require minor adjustment in the Fit Editor.
Materials — acetate is detected and rendered with appropriate translucency and depth. Metal frames get metalness and reflectance values. Gradient tints on lenses are picked up from photo color sampling and rendered correctly.
Lens rendering — tinted, mirrored, gradient, and clear lenses all render through the standard PBR pipeline. Polarized lenses won't look polarized in AR (that's a physics limitation, not a model quality issue), but tint and coating render correctly.
What to check in the Fit Editor: bridge position (vertical) and scale. Every face is different, and while the auto-fit defaults are calibrated for an average face, you should verify the bridge sits naturally and the frame size matches the physical dimensions of the product.
Cost Comparison: Traditional vs. AI Generation
| Traditional 3D Studio | In-House Artist | TryOn V3 Builder | |
|---|---|---|---|
| Cost per model | $200–800 | ~$150 (amortized) | Included in plan |
| Turnaround | 1–4 weeks | 3–7 days | Minutes |
| Revisions | Billed separately | Unlimited | Fit Editor |
| AR optimization | Extra cost | Requires AR expertise | Automatic |
| Activation | Manual upload | Manual upload | Automatic |
| 50-frame catalog | $10K–40K | $7.5K+ | Plan cost |
For merchants with any meaningful catalog size, the math isn't close. The per-model cost difference compounds fast.
Who This Works For
Best fit:
- Shopify eyewear stores with 5+ frames to enable for try-on
- Brands whose suppliers don't provide 3D models (most don't)
- Merchants who tried getting models made externally and found it too slow or expensive
- Stores launching new frames regularly who need a fast production pipeline
Worth noting:
- Very limited-edition frames with complex hand-engraving or unconventional materials (wood, horn) may need manual Fit Editor adjustment after generation
- If your supplier already provides certified 3D models, you can upload those directly instead — the AI builder is an alternative, not a requirement
Getting Started
The 3D model builder is built into TryOn Virtual — there's no separate tool to install or configure.
If you're on Shopify: install the app from the Shopify App Store and the builder is available immediately from any product detail page. The Starter plan includes a free quota of generated models to test the process.
If you're on WooCommerce, Magento, or a custom storefront: the same generation pipeline is available through the merchant panel. Upload your product images and the pipeline produces AR-ready 3D models that go live in your try-on widget automatically.
The frames that were sitting in "too complicated to do try-on for" are ready to go. The model problem is solved.
→ See how the 3D builder works in detail
This article is part of The Complete Guide to Virtual Try-On in Ecommerce — our full breakdown of try-on types, product categories, ROI, and platform options.