If you sell apparel online, returns are quietly eating your margin. Fashion has the highest return rate in ecommerce — size and fit uncertainty sends 30–50% of apparel back, and every return costs you shipping, restocking, and a shopper who may not come back. A virtual fashion try-on feature attacks that at the source: it gives customers confidence on the product page, before they buy.
This is a merchant's build guide — how to add a fashion try-on feature to your store, why apparel needs a different approach than eyewear or watches, what it takes to set up, and how to go live on Shopify or any platform.
Why fashion try-on is different
Most "virtual try-on" you've seen is real-time AR — the shopper's camera shows glasses or a watch overlaid live. That works beautifully for accessories, but it falls apart for clothing: an AR overlay can't convincingly drape a garment on a moving body.
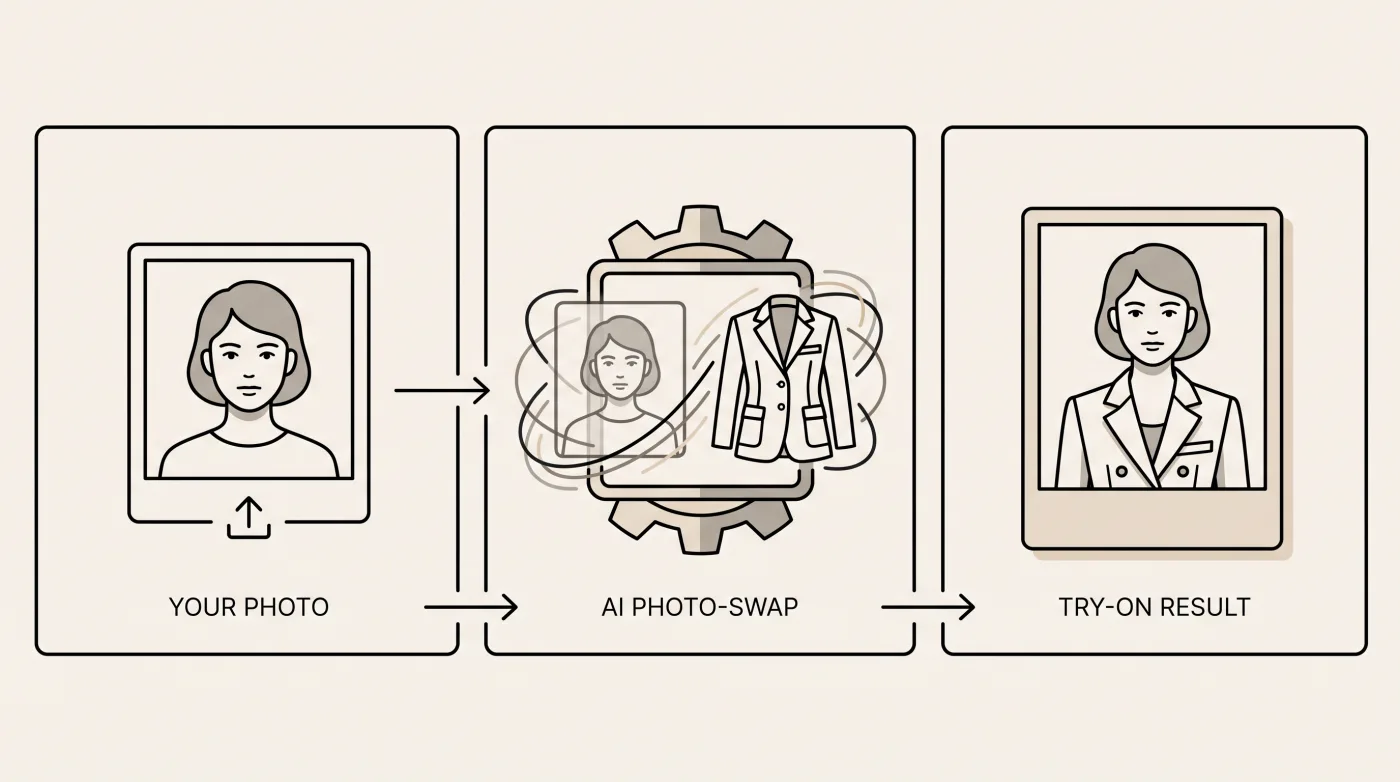
Fashion needs the other approach: AI photo-swap. The shopper uploads a photo (or picks a model), and AI renders your garment onto them — showing drape, fit and styling on a real body. No live camera, no 3D model, just your existing product images. We break the mechanics down in AI Swap Virtual Try-On: How It Works, and you can see it live on the clothing try-on page.
So the first rule of building a fashion try-on feature: choose photo-swap, not AR overlay.
What you need (less than you think)
You do not need 3D models, a 3D artist, or a photo studio rebuild. To add a fashion try-on feature you need:
- Clean product photos you already have — flat-lays or on-model shots work.
- A virtual try-on tool that supports AI photo-swap for apparel (most AR-only tools don't).
- A product page to place the "Try On" button on.
That's the whole list. The AI generates the try-on result from the product image at request time.
How to create the feature, step by step
Step 1 — Choose photo-swap technology
Confirm your tool renders garments on a body via AI, not just an AR overlay. If a tool only lists eyewear/watch/jewelry AR, it won't do clothing well. (Category fit is the #1 thing merchants get wrong — see the complete guide for how the types map to products.)
Step 2 — Pick a virtual try-on app
Shortlist tools that do apparel photo-swap, then compare on category coverage, platform support, and pricing. Our honest roundup — Best Virtual Try-On Apps for Shopify (2026) — is a good starting point, and the pricing page shows where a free tier lets you start without commitment.
Step 3 — Connect your product catalog
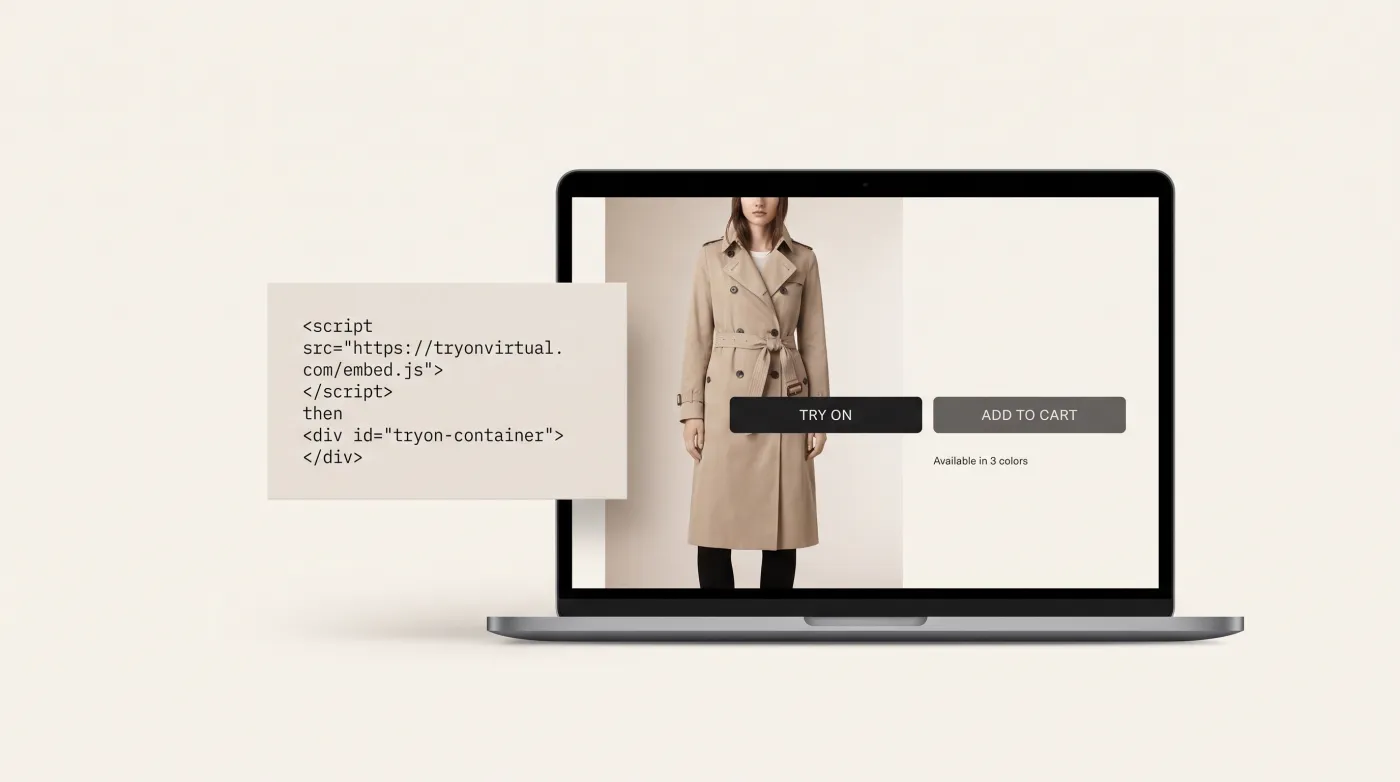
Install the app and connect your store so the tool can read your product images. With TryOn Virtual on Shopify this is a one-click install; on other platforms it's a script tag or the merchant panel. No per-product 3D setup — the catalog syncs and the AI works from the photos.
Step 4 — Add the "Try On" button to product pages
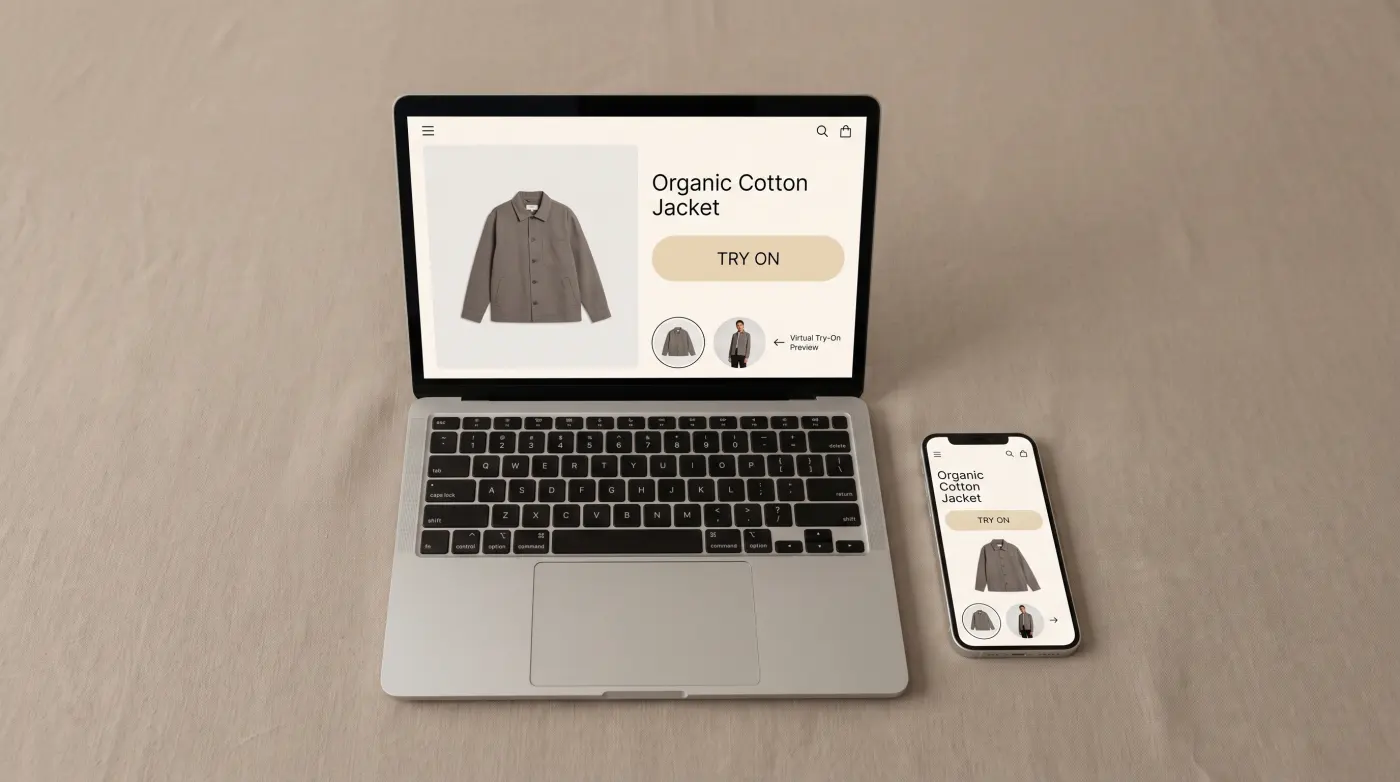
Place a clear Try On call-to-action on apparel product pages, near the add-to-cart button where shoppers decide. Keep it prominent — a try-on feature only reduces returns if customers actually use it before buying.
Step 5 — Test and go live
Run a few real products through it, check the fit looks believable across body types, then publish. Start with your highest-return categories (dresses, outerwear, tailored fits) where try-on has the biggest payoff.
Platform notes: Shopify and beyond
- Shopify — the fastest path; install, connect, and the button drops onto product pages. See how to add virtual try-on to your Shopify store.
- WooCommerce, Magento, custom — a fashion try-on feature isn't Shopify-only. Add it via a script tag or merchant panel — virtual try-on beyond Shopify.
Measure whether it's working
A try-on feature is only worth keeping if it moves numbers. Track try-on activation, try-on-to-cart rate, and returns on products with try-on enabled versus without. The virtual try-on analytics guide covers what to watch and how.
Common pitfalls to avoid
- Using an AR-only tool for clothing — it can't render garments on a body. Confirm photo-swap support first.
- Hiding the button — if shoppers don't see it before checkout, it can't reduce returns.
- Skipping measurement — enable analytics from day one so you can prove the conversion and returns impact.
Frequently asked questions
Do I need 3D models to add fashion try-on? No. AI photo-swap renders your garment from standard product photos — no 3D models or 3D artist required.
Will it work on my platform? Yes — fashion try-on works on Shopify, WooCommerce, Magento and custom storefronts via a script tag or merchant panel.
How long does it take to add? On Shopify it's minutes to install and connect; the longer part is placing the button and testing a few products before you go live.
Ready to add fashion try-on to your store? Start free with TryOn Virtual — AI photo-swap for clothing and shoes, live on your product pages in minutes.
This article is part of The Complete Guide to Virtual Try-On in Ecommerce — our full breakdown of try-on types, product categories, ROI, and platform options.