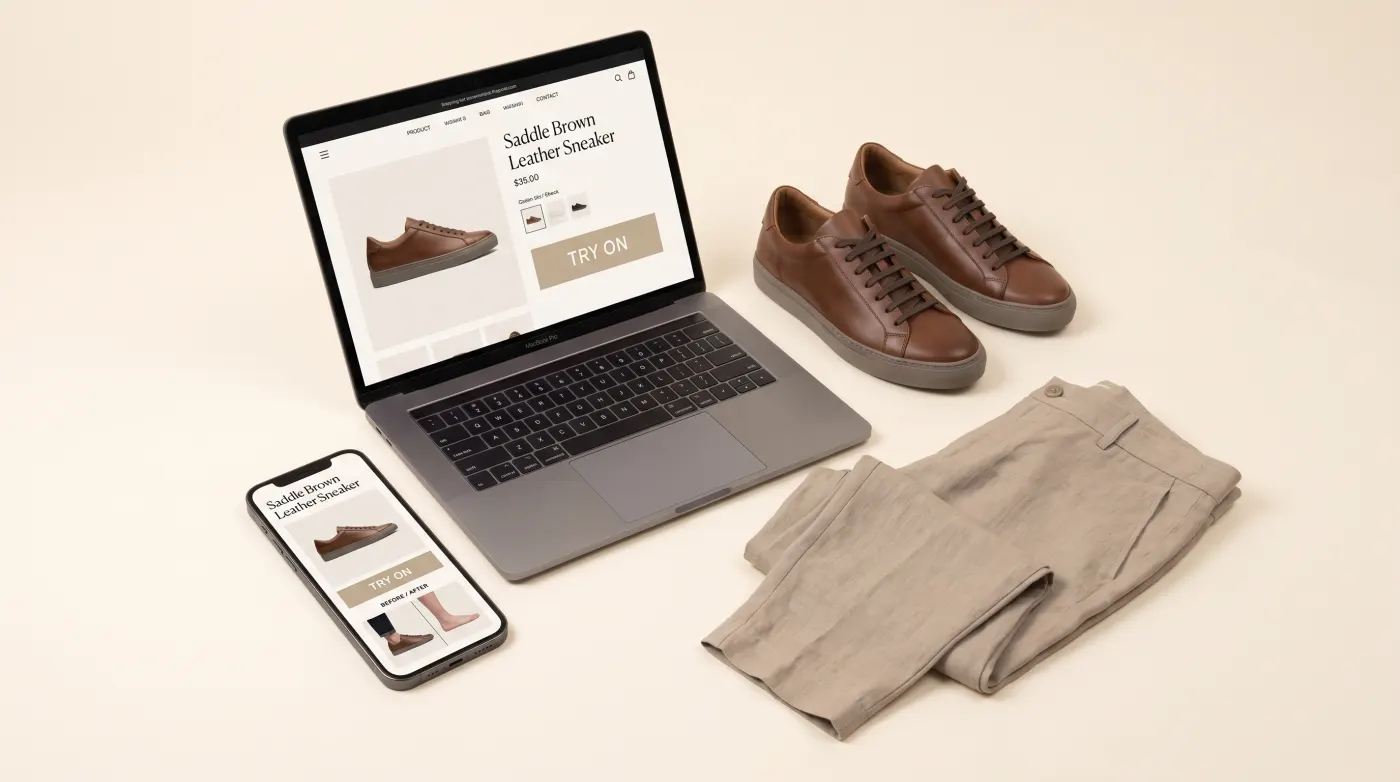
Almost every virtual try-on guide assumes you're on Shopify. If you run a WooCommerce or Magento store — or a custom build — that's frustrating, because the return-reduction and conversion case for try-on is exactly the same for you. The good news: virtual try-on works on non-Shopify platforms too. This is a merchant's guide to adding it, how the integration actually works, and what to check before you pick a tool.
Yes, it works off Shopify
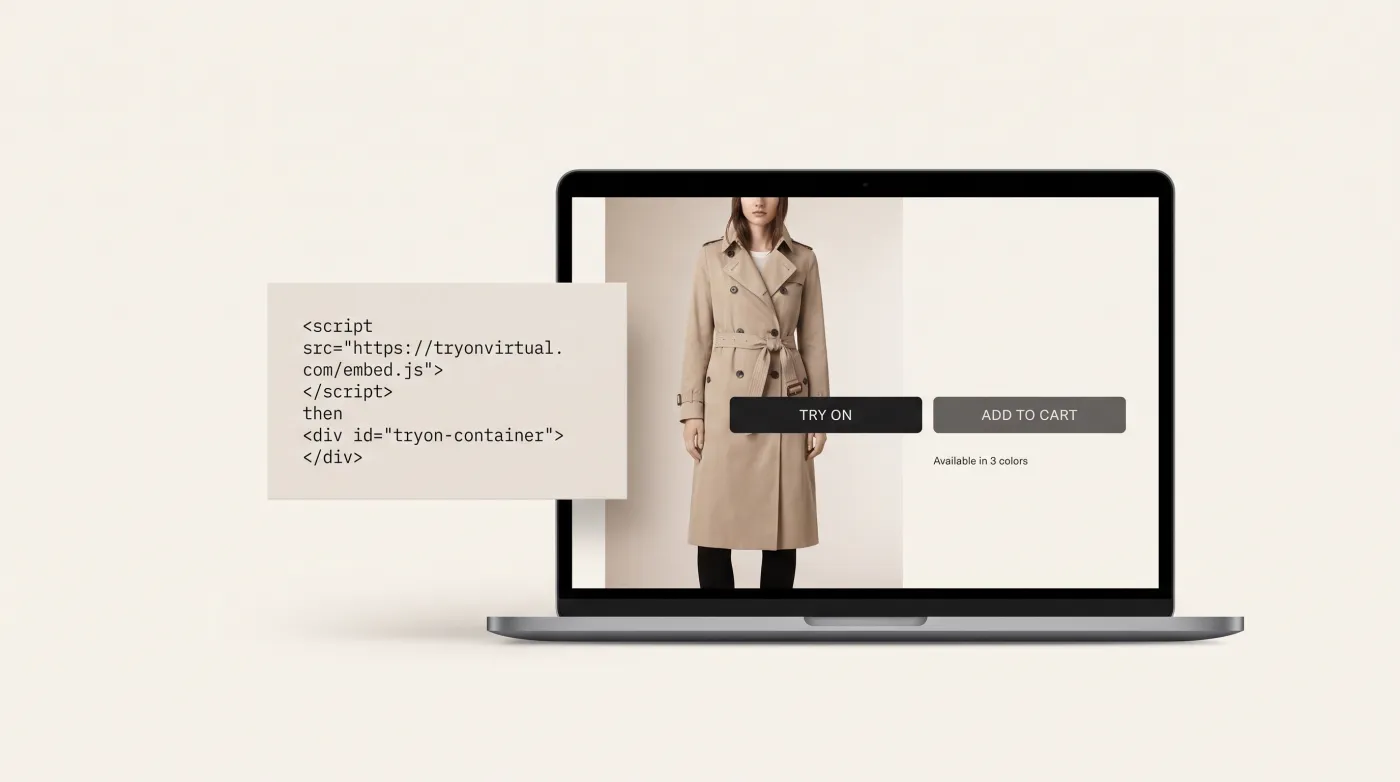
The reason so much try-on content is Shopify-first is distribution: the Shopify App Store makes one-click install easy. But the try-on experience itself doesn't depend on Shopify. On WooCommerce, Magento, or a custom storefront, a good try-on tool integrates one of two ways:
- A script tag / embed you drop into your theme, which adds a "Try On" button to product pages — no platform-specific app required.
- A merchant panel where you connect your catalog and manage products, then the widget renders on your store.
That's the same production widget Shopify merchants use, just embedded differently. If you want the platform-agnostic overview, see virtual try-on beyond Shopify, and the merchant panel is where non-Shopify stores set it up.
The two approaches — same as any platform
Try-on tech doesn't change by platform; match it to your catalog:
- Real-time AR for accessories worn on a stable point — eyewear and watches (live camera overlay). TryOn Virtual's earring, necklace and bracelet AR is in beta.
- AI photo-swap for clothing, shoes, and jewelry, where AI renders the item onto a shopper's photo. See AI Swap Virtual Try-On: How It Works.
Get the mapping wrong and try-on underperforms — the complete guide covers which type fits which product.
What the WooCommerce / Magento landscape actually looks like
Be clear-eyed here: the off-Shopify market is real but more fragmented and less mature than Shopify's. As you evaluate options, the differences that matter most:
- Category coverage. Several WooCommerce/Magento options are single-category — eyewear-only, or clothing-only via AI image. If you sell across categories, that means stitching multiple tools together.
- AR vs photo-only. Some are photo-upload only (no real-time AR), which is fine for apparel but weak for eyewear and watches.
- Integration method. Check whether it's a clean script-tag/embed or a heavier platform-specific plugin you'll have to maintain through theme updates.
The tool that saves you the most work is one that's genuinely platform-agnostic and multi-category — AR and photo-swap, across eyewear, watches, jewelry, clothing and shoes, from one integration — rather than a Shopify app with WooCommerce/Magento bolted on as an afterthought.
How to add it, step by step
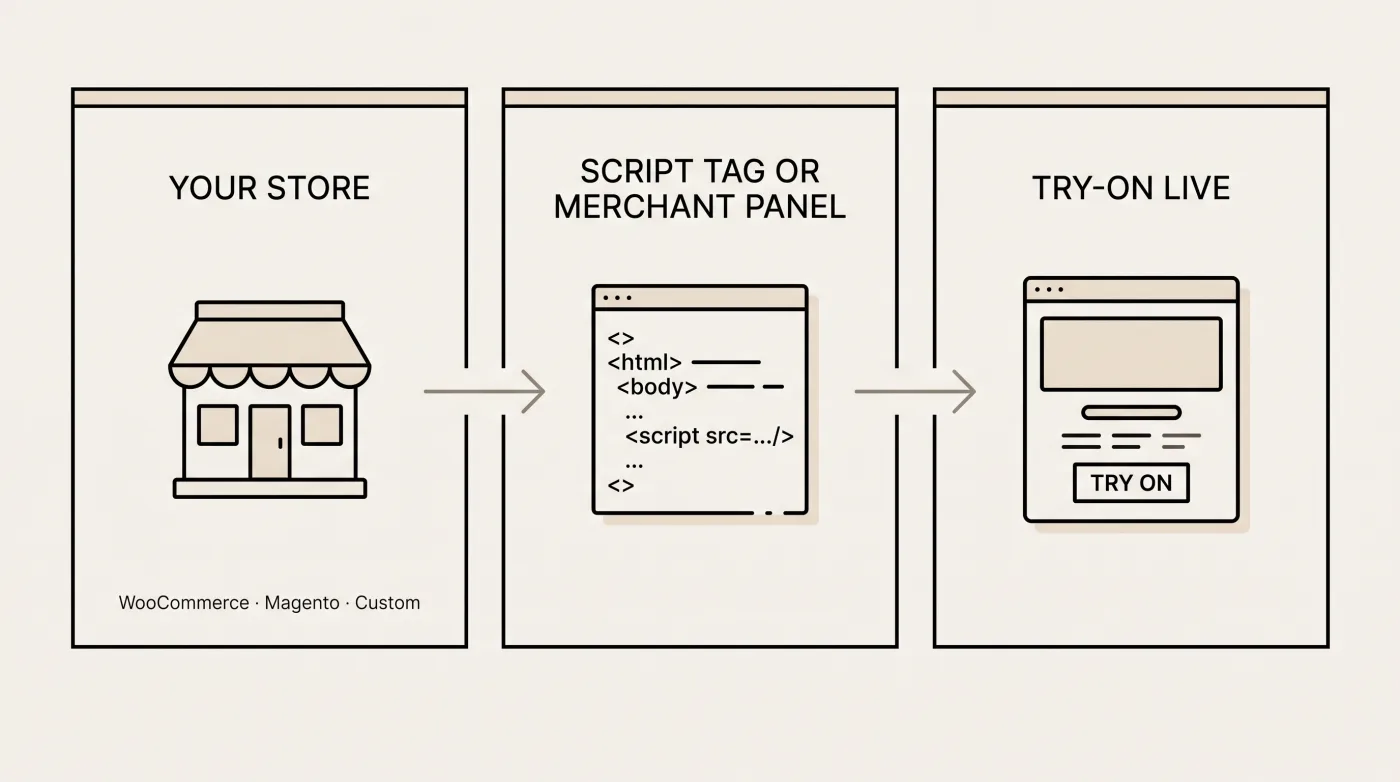
- Pick a platform-agnostic, multi-category tool — one that covers everything you sell and supports both AR and photo-swap.
- Connect your catalog via the merchant panel (or point it at your product data), so the widget knows your products and images.
- Embed the widget — add the script tag to your theme, or drop the "Try On" button into your product template.
- Place the button near add-to-cart on product pages, where the decision happens.
- Test and go live on your highest-return categories first.
WooCommerce specifics
WooCommerce is a WordPress theme + plugin stack, so embedding a script tag (via your theme's functions.php, a code-snippet plugin, or the product template) is straightforward. TryOn Virtual doesn't ship a WooCommerce plugin — the script embed is the whole integration, so there's nothing extra to update and no dependency on a proprietary app store.
Magento specifics
Magento (Adobe Commerce) is heavier but flexible — add the widget through your theme layout or a small module, and connect the catalog via the merchant panel. The same production try-on renders as it does everywhere else.
Measure the impact
Whatever platform you're on, enable analytics from day one — try-on activation, try-on-to-cart rate, and returns on products with try-on versus without. The virtual try-on analytics guide covers what to track.
Frequently asked questions
Can I use virtual try-on if I'm not on Shopify? Yes. Virtual try-on works on WooCommerce, Magento, and custom storefronts via a script tag or merchant panel — no Shopify required.
Do I need a developer to add it? For WooCommerce, usually no more than pasting a script tag; Magento may want a developer for a clean theme integration. Either way, AI photo-swap needs no 3D models, and AR models for eyewear can be generated from your product photos.
Does it support both AR and clothing try-on? It should. Look for a tool that does real-time AR (accessories) and AI photo-swap (apparel and shoes) so you can cover your whole catalog with one integration.
Run your store on WooCommerce, Magento, or a custom platform? Start free with TryOn Virtual or set it up through the merchant panel — AR and AI photo-swap, on any storefront.
This article is part of The Complete Guide to Virtual Try-On in Ecommerce — our full breakdown of try-on types, product categories, ROI, and platform options.